Cold weather food for those long nights of winter, Classic Beef Stew & Dumplings is…
The Up Your Skirt Dessert – Valentine’s Day Ideas from Chef Benoit
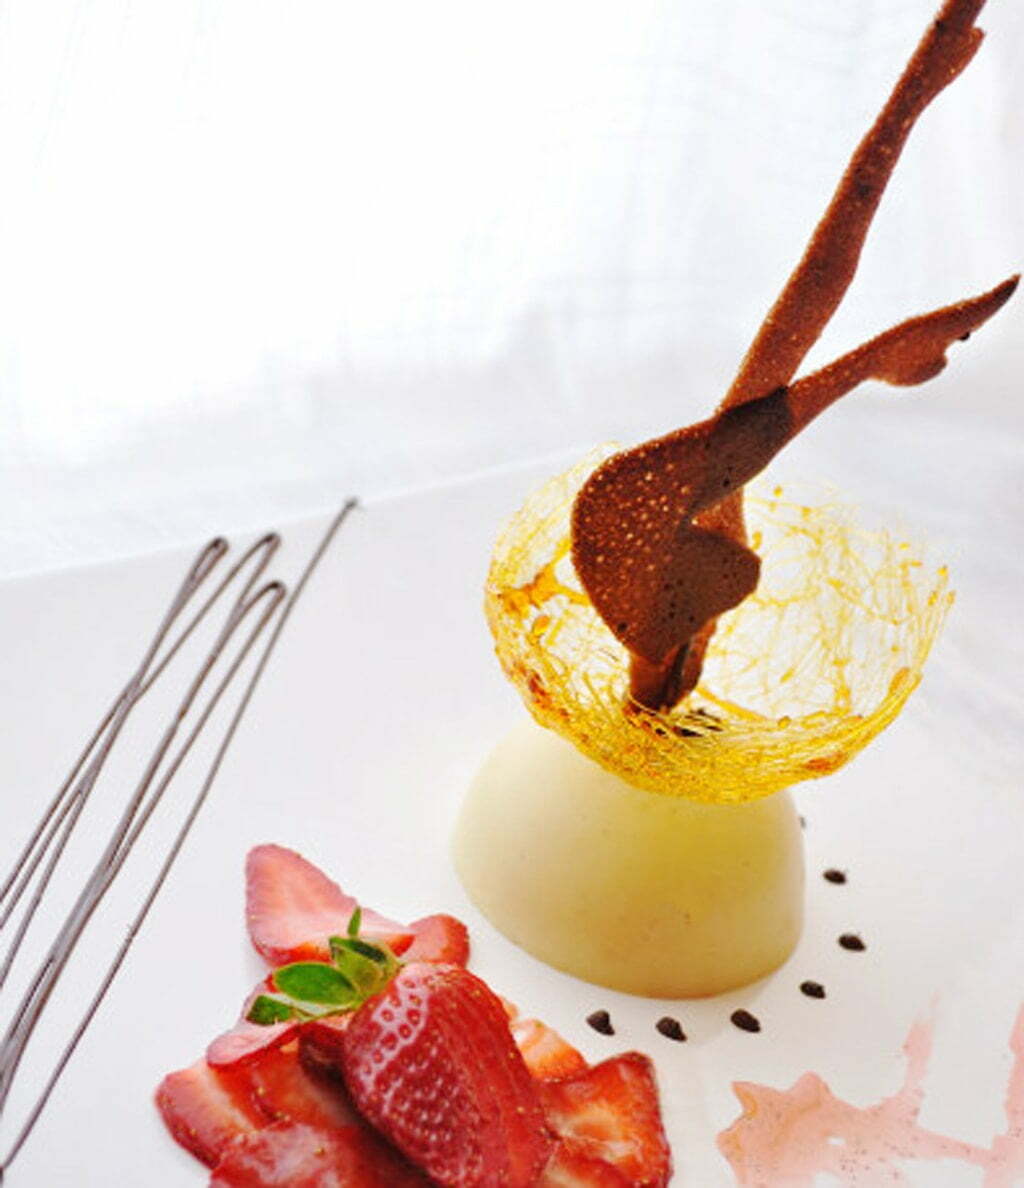
A little something interesting for Valentine’s Day with our Up Your Skirt Dessert; a reconstructed creme brulee, strawberry carpaccio, a dash of chocolate and a pair of edible gams. What? You were expecting cupcakes?!
From time to time I let the chef in my life loose in the kitchen. When I want to stretch and try something new, I look at a recipe I’ve never approached before, something I’ve only enjoyed in restaurants or bakeries. It forces my brain to adapt, overcome challenges that my arise and find solutions. Sometimes it’s a booming success, other times it goes straight into the compost.
After 20 plus years in the kitchen, Chef B’s version of stretching is a little different from mine. “Let’s do something FUN!” he says, and so we strategize, borrow ideas and plan and I watch in awe as he experiments.
It was fun… and sometimes frustrating… but the result is rather fabulous.
This sweet ending was inspired by a page in “Grand Finales, The Art of The Plated Dessert” that features this stunning photo, that inspired Chef B and we thought it might be fun to show you something a little more entertaining. In the original version shown in this photos, the final height was almost a foot tall. We downsized to create an intimate, feminine design that’s fun and sassy.
Love is in the air and up your skirt.
Chef B’s Up Your Skirt Dessert is not nearly as complicated as it looks. The creamy dome you see on the bottom is a simple creme brulee, cooked and cooled but rather than covering it with caramel, Chef Benoit took that beautiful, soft custard and combined it with gelatin for a firm texture we could build on, re-molded and chilled.
The creme brulee recipe, which we featured earlier this week, it’s perfect just as it is; no need to go all fancy-shamcy, but if you want to try something completly different, follow along step by step.
Re-Molded Creme Brulee Recipe
1 envelope gelatin
1/4 cup milk
1/4 cup water
2 ramekins creme brulee
Method
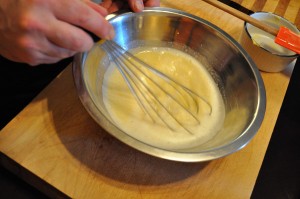
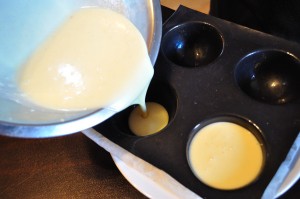
Combine gelatin, milk and water in a sauce pan over medium-high heat and bring to a boil, whisking occasionally. Remove from heat, allow to cool for about 3 minutes, add creme brulee custard and blend until smooth. Immediately re-mold and refrigerate for at least 2 hours.
We used silicone molds so it was easy to unmold the final product.
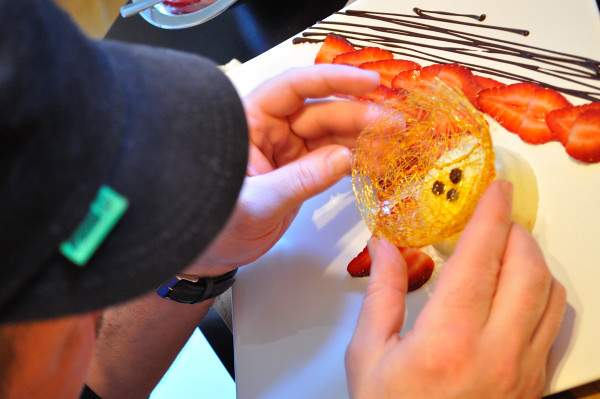
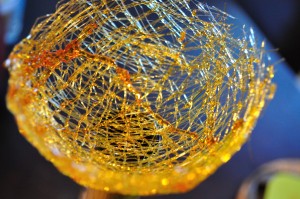
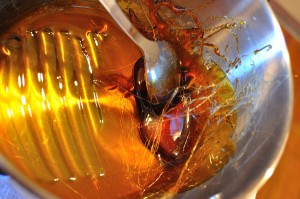
The shirt is a simple caramel basket. Caramel = melted sugar. As it browns it turns amber and gets thick and gooey. He then applied a little oil to the back of a stainless steel ladle (because it was about the right size we were looking for) and thinly drizzled the caramel to create this sexy little basket.
You could use this in a number of applications; under berries or to hold a mousse or meringue or, cast the caramel in flat sheet on a piece of parchment, break or cut it into interesting shapes and accent a gorgeous cake, a poached pear. This is something to have a lot of fun with and use on it’s own.
A couple of parameters to keep in mind, being made of sugar, it melts when it comes in contact with liquid, so if you’re using hardened caramel in an application with any humidity (I.e: berries) plate and serve fast before it starts to wilt. It’s also HOT to work with so use caution hot caramel will burn your skin. (Not a project to do with young children.)
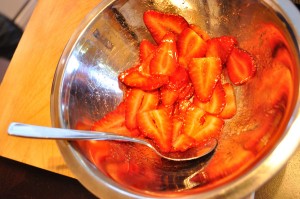
The strawberry carpaccio is as easy as a dash of grainy vanilla and sugar on some thinly sliced strawberries. Plate with some forethought, balance colour and texture. Use the sweetened, coloured juice as an accent, like you see on the top plate.
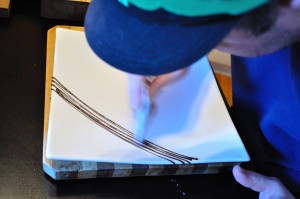
The silky chocolate drizzle, is merely melted chocolate (in a parchment paper piping bag) applied directly to the plate. Accents around the creme brulee; also tiny, well placed, drops of chocolate.
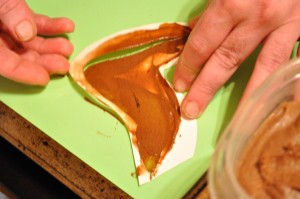
The curvy calves were a whole lot more work. Part tech; scanning the patten, resizing in photoshop, printing, cutting out a positive then transferring to a thicker card-stock for a negative that became our stencil, and part pastry chef; executing the stencil with clean edges, baking to perfection, removing cleanly without breaking and then assembling and placing them perfectly. I’m exhausted just writing that.
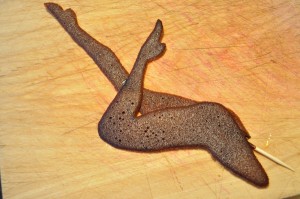
The thin, transparent cookie dough is called Tuile, it’s a spreadable batter that molds easily, is completely edible and very breakable. Not sure if I will ever stencil with tuile again, effective but fussy. Best to work with it when it’s cold, it spreads more evenly that way and it cooks in minutes, so watch it like a hawk.
This element was the cause of much frustration, we baked several pairs of cookie legs; prepped the one you see above with a dab of chocolate to secure them to a toothpick, for shooting purposes. We knew that the cookie would start to melt as it it came in contact with humidity and then droop, so we added the toothpick give me more time with the camera, plus another drop at the knee, to help keep them straight.
They broke as they were being placed, but my guy does not give up so easily. He re-attached and adapted.
Credit where credit is due, Chef B had the patience of a saint, and the end result truly is stunning. A risque little dessert. What can I say, he’s a food genius.
Chocolate Tuile Recipe (from allrecipes.com)
1/2 cup butter, softened
1 cup confectioners’ sugar
1/4 teaspoon of salt
4 egg whites
1/2 teaspoon vanilla extract
3/4 cup cake flour
5 tablespoons cocoa powder
Method
- In a bowl cream the butter, sugar and salt together on medium high speed. Beat in the egg whites, one at a time. Beat in the vanilla.
- Lower the speed and add the flour (or flour cocoa mixture) mix until just combined. Don’t overmix. Cover and chill for at least 2 hours.
- Preheat oven to 325 degrees F (165 degrees C).
- Cut your template to form the tuiles. Line a cookie sheet with parchment paper or a silicon mat and place the stencil on it. Using a spatula, place a small amount of the batter at one end of the stencil and spread it evenly. Carefully lift the stencil off. Repeat as needed.
- Bake at 325 degrees F (165 degrees C) for 8 to 10 minutes or until lightly brown around the edges. Remove from the oven and while still hot, carefully remove them from the pan and place them flat to dry. Allow to sit a few minutes to harden and cool. Store in an airtight container.
May your Valentine’s be SWEET and SEXY.
On Monday, get ready for a colourful adventure in molecular cuisine with Chef B; a gorgeous little appetizer that we call From Russia With Love. If you’d like to see more unique ideas from Chef Benoit please comment on the blog below and let him know, he’d love to hear from you! (I keep trying to convince him to do video… )



First I’d like to say, I’m your biggest fan ;) (both of you!:P)
You guys did a wonderful job, it looks awesome. Next time I’m over for dinner I’d like this, following Chef B’s delicious Duck Confit and Smoked Gouda Grilled Cheese :)… YUMMMM
Miss You
Love You Guys, have a wonderful V-Day. xo
Awwwwwe… we love that you love us. Thanks for reading!!!