Cold weather food for those long nights of winter, Classic Beef Stew & Dumplings is…
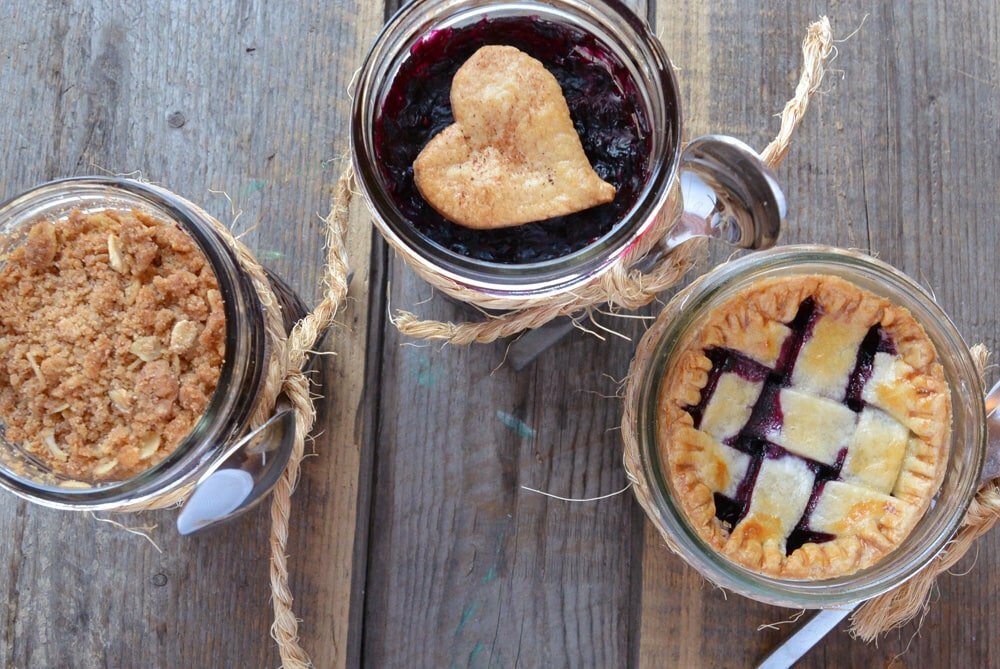
Pie in a Jar – Three Ways
Three simple ideas for individual pies, fresh from the freezer, anytime. Perfect for a picnic or outdoor entertaining, Pie in a Jar is my favorite do-it-yourself idea for rustic weddings and outdoor parties. Don’t stop at sweet fruit pies, think savory and go chicken pot pie, or for the winter, Tourtiere.
We’re thinking weddings in January, yes, it’s true. So many couples get engaged over the holidays it’s the perfect time to start planning. The chef in my life popped the question Christmas Eve 2011, we’ve had two years to scope some amazing events we’ve attended for great ideas. This is one of my favorites.
To my mind, the reason Pie in a Jar makes such a great DIY wedding project for smaller, intimate weddings is because it can be done so far in advance. Because they freeze so beautifully, either of these three options can be prepped up to a month in advance and baked the day before. Better yet, store them in your deep freeze in the boxes the jars came in, and then, once they’re baked and cooled, lid them and load them straight back in for easy transport.
The best jar for these pies are the SHORT half-pint jars. Taller jars are tougher to line with pastry, but will work with the crumble topping or the simpler version, topped with just a pastry cut-out. The advantages of a no pastry style pie, is that your guests can see what the filling is at a glance, should you be serving buffet style. It’s also faster, a lighter, healthier option, and shaves a bit off the budget.
Step one: Make your pie crust.
If you have a favorite recipe, terrific. If not, check out our complete tutorial from our resident chef (Benoit Gelinotte) for a never fail Pate Brisse that may well become your favorite.
Step Two: Line your jars.
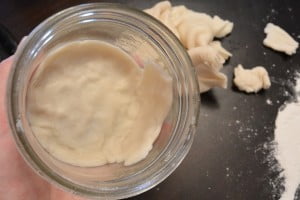
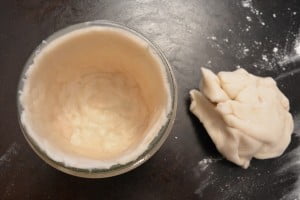
Once you have your pie dough, rip off inch and a half sized pieces, press them flat and then line first the top and then the sides of your jar. Rolling the dough then trying to press it will cause wrinkles and overlapping, so just press it in against the glass. No need to grease or spray your jars, with all the butter (or shortening if you opt for a vegetable based dough) your crust won’t stick to the jars.
Step Three: Make your filling
I must have looked at twenty different recipes for Pie in a Jar, what varied was technique, not the recipe itself. In the case of a crumble topped Pie in a Jar, many suggested starting with fresh fruit, topping with crumble and baking. “Hmmmm,” I thought “as the fruit breaks down and cooks aren’t you going to loose a lot of volume?” so I tested it and, I was right, it was a half a pie in a jar! If that’s your favorite option, I recommend that you precook your filling if you’re going with a crumble topping so you have a nice, sassy full jar.
Pie in a Jar – Basic Fruit Filling
Prep time: 10 – 20 minutes (uncooked vs. cooked)
Baking time: 20 – 60 minutes (crumbel topped vs pastry lined)
Yield: four
4 cups prepared fruit (pitted, diced, peeled)
1/2 cup sugar – brown or white (sweeten to taste)
2 tablespoons cornstarch
dash of salt
Seasonings or flavorings to taste: cinnamon, nutmeg, vanilla, herbs, citrus zest etc.
Method:
Uncooked filling, for pastry lined pies: In a large bowl, combine fruit, sugar, cornstarch, salt & any additional flavourings needed. Toss to coat and reserve.
Cooked pie filling, for crumble or pastry topped pies: In a saucepan combine fruit, sugar, cornstarch, salt and any desired spices or seasonings to taste and stir to coat. Cook over medium heat until fruit begins to breakdown and thicken, about 10 minutes, then remove and reserve.
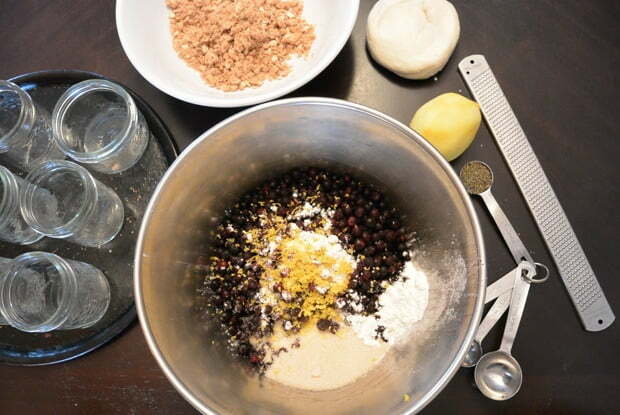
In these lovely little blueberry pies I added the zest of one lemon and 1 teaspoon dried thyme. The combination lifts the wild blueberries and gives the pie an unexpected herbal undertone to offset the sweetness. There are no rules that say all fruit pies must be made with cinnamon, have some fun.
Step Four: Fill your pie
Whether you’re using uncooked or cooked filling, you want to fill your pie to just below the lid line.
Step Five: Top your pie.
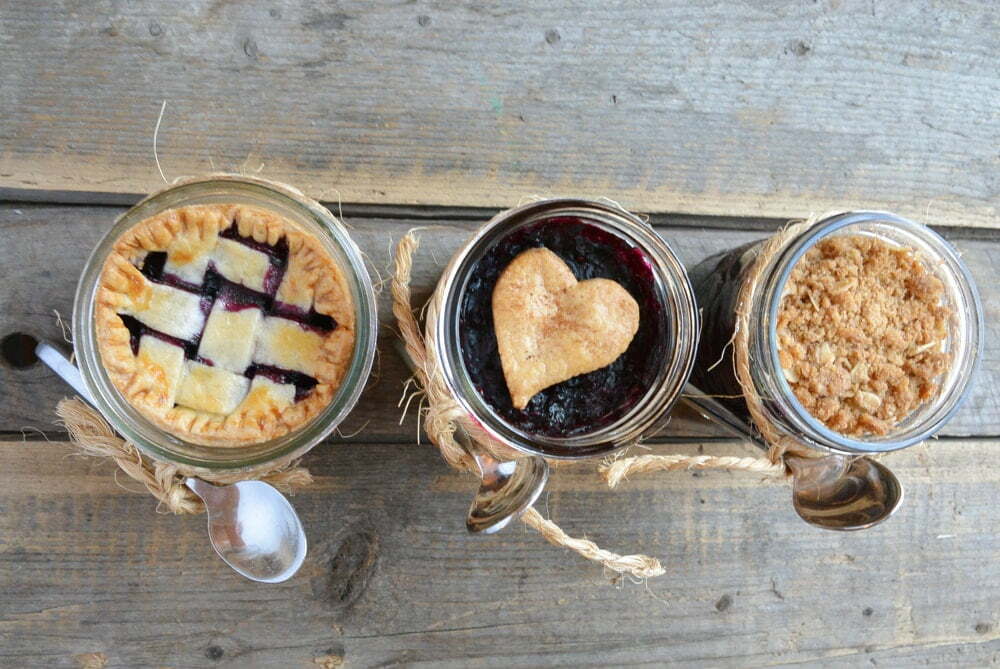
If you want a traditional pie, you can opt for a classic cut top, by simply rolling out the pie dough and using the tops of the lids to cut out the perfect sized topper. You can cut a vent with a pairing knife or use a small cutter to cut a design, then wet the edges of your dough,on the inside of the jar with a little water on your finger tip and then press the dough lid into place.
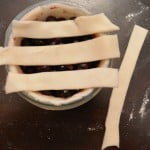
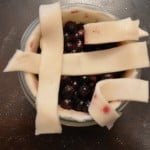
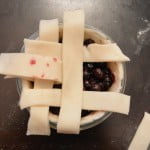
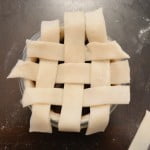
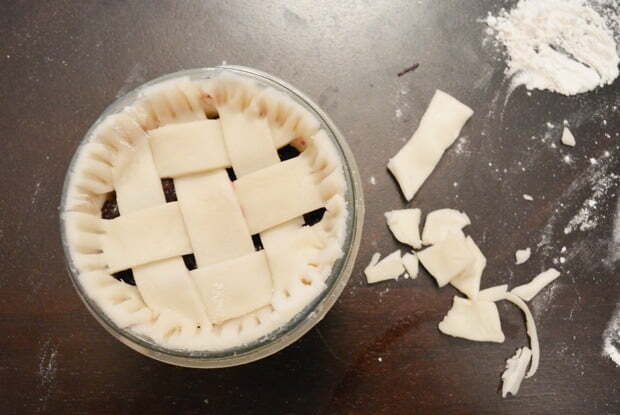
If you like the look of a lattice top; roll your dough, cut even strips with the tip of a pairing knife or a pizza cutter. Wet the inside rim of the pastry with a bit of water on the tip of your finger, then place three strips cut to length, parallel on top of your filling. Then fold the outside two gently back and place a fourth strip across the jar in the opposite direction, and fold the outside strips back down. Now fold the center strip back and place another strip across the lip of the jar and fold down the inside strip to form a woven pattern. (Repeat as necessary.)
Take the tip of a fork dip to will in flour (so it doesn’t stick) and press the pastry strips together with the pastry wall to form a seal. Cut away the remainder of the dough for a clean edge. Brush with egg wash to finish.
This is the point at which pie in a jar freezes best, raw, uncooked, fully prepped. Simply screw the lid on and place them in the freezer on an even surface. Make your Pie in a Jar a week, even a month out and, if they’re stored property, they will still look picture perfect.
Pie in a Jar – Crumble Topping
Prep time: 10 minutes
Baking time: 20 minutes
Yield: tops 4 jars
1/4 cup brown sugar
1/4 cup flour
2 tablespoons rolled oats
1/4 teaspoon cinnamon
1/4 teaspoon nutmeg
1/4 cup cold butter, cut into small pieces
Method:
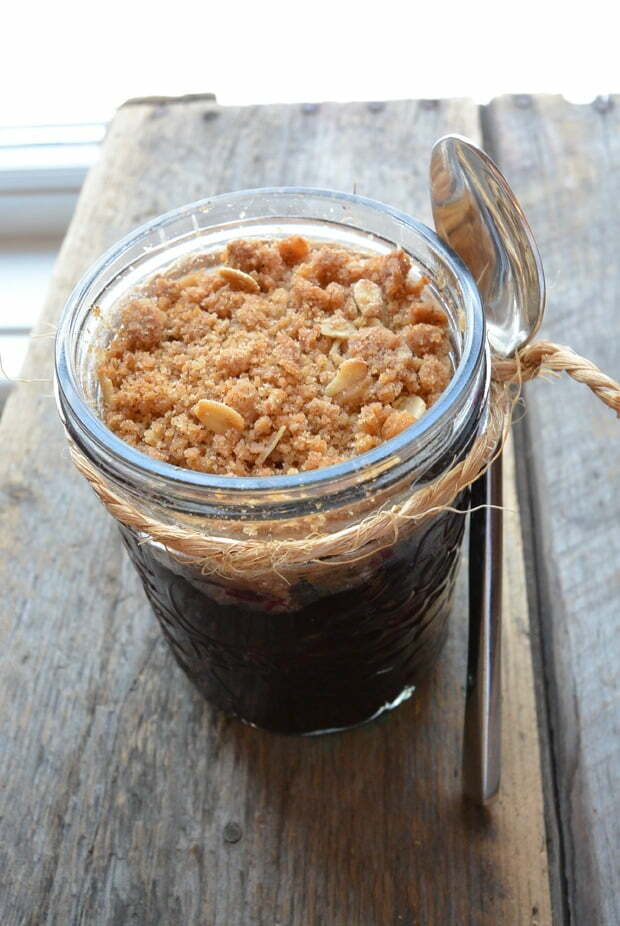
In a small bowl combine dry ingredients & spices. Cut in butter using two knives, a pastry cutter or by rubbing the butter into the dry mixture with your finger tips, to make a grainy crumble. Spoon on top of partially cooked pie filling to create a crumble top. Then screw on lid and freeze, if you want to hold the pie fresh until needed.
Step 6: Bake
Remove your little jar pies from the freezer and place them on a baking sheet in a COLD oven. Set oven to 375°F (190°C) and bake for 50 – 60 minutes for pastry version. Bake for 35 – 40 minutes for crumble topped version.
No, they will not shatter. Canning jars are designed to withstand exactly this type of temperature variance.
No bake, all fruit…
If you want just a dash of pastry to top a beautiful jar of seasonal cooked fruit, cook your filling as per the above directions. Roll your dough and cut out your favorite designs to fit, brush lightly with egg wash and bake on parchment lined baking sheet for about 7 – 10 minutes at 350°F (175°C). Place pastry shape, gently on top of filled jar before serving.
Nikoo Khosravi liked this on Facebook.
Brenda Larocque Levert liked this on Facebook.
The first pies were very simple and generally of the savory (meat and cheese) kind. Flaky pastry fruit-filled turnovers appeared in the early 19th century. Some pie-type foods are made for individual consumption . These portable pies… pasties, turnovers, empanadas, pierogi, calzones…were enjoyed by working classes and sold by street vendors. Pie variations (cobblers, slumps, grunts, etc.) are endless!
Words to the wise: •This method is appropriate for fruit pies. Please don’t try it with egg- and/or milk-based fillings (e.g., custard, pumpkin, pecan, lemon meringue, banana cream, etc.). •I found that adding an extra 2 tablespoons flour to the filling helps soak up some of the extra juice the fruit may exude during the freezing/thawing process.