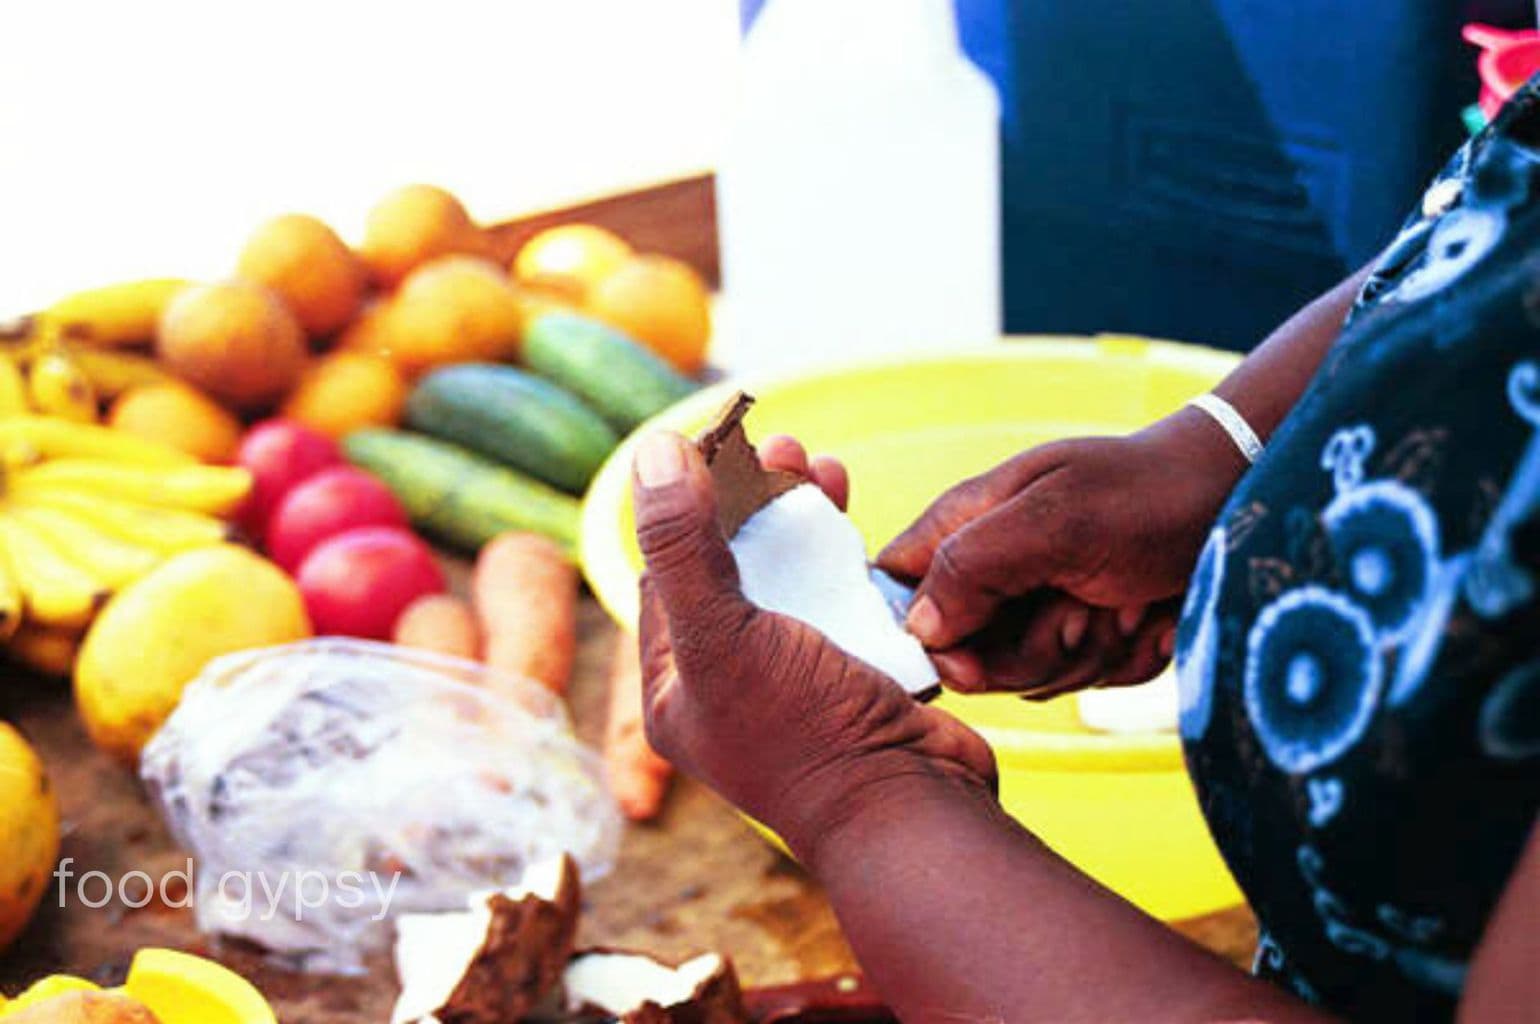
The kitchen is the great equalizer. Food doesn’t care about the colour of your skin…
Eco-seedlings in the Gypsy Kitchen
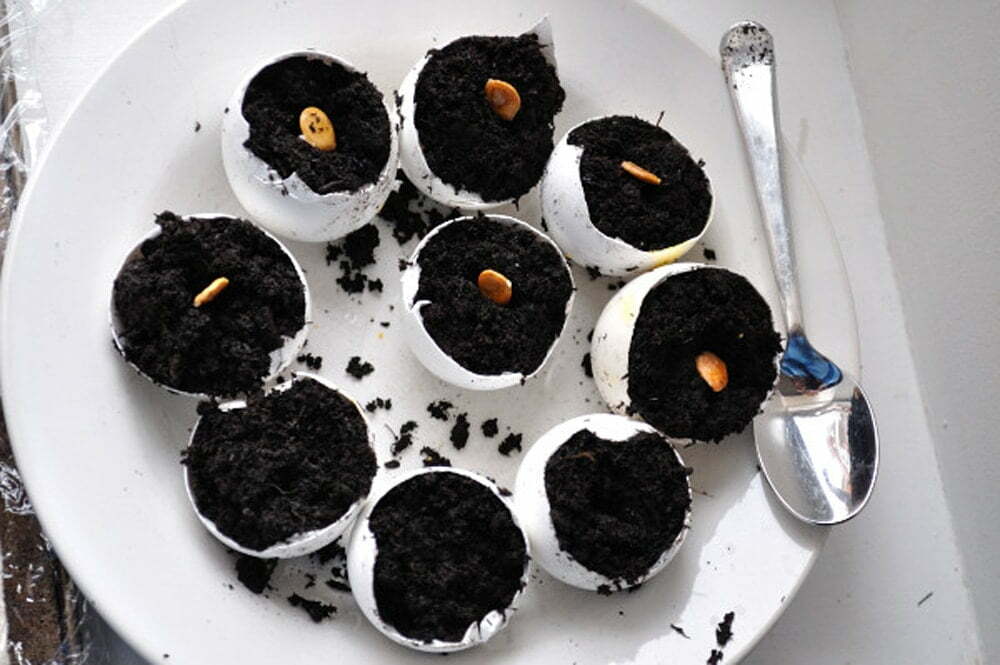
Dirt eggs, earthy, with a side of grit. No, we’re not eating them, but we’ll be enjoying lovely stuffed squash blossoms by June, and prefect little squash come harvest time.
This is one of three eco-friendly indoor starting methods I’m trying this year for eco-seedlings. The eggshells will contain the seedlings in a tiny cocoon as stalks harden and tender roots grow. The shell then breakdowns in the garden when they’re planted, adding a bit of compost and calcium to the soil.

The eggshells I’ve never used before but I have used egg cartons. Paper egg cartons break up easily by hand as you plant each seedling, the size, shape and depth is perfect. The toilet paper rolls is a new idea, I saw it on a Facebook page I just LOVE called Backyard Diva along with the eggshells. (Backyard Diva tells me she’s launching her own site soon at backyarddiva.ca , can’t wait for that and we will be sure to let you know when she does.)
Always open to new ideas in the garden and hippy-throwback that I am, I’m nuts about anything that reduces, reuses or recycles. I find gardeners are a very resourceful bunch, and when the bug bites we will used every available space to quell the urge to grow.
So far I’m not as fond of the paper rolls, they’re messy to fill and harder to manage than the paper egg cartons or the eggshells themselves.
These seedlings will go into the secret garden that I cleared last fall. This is a garden that will be entirely edible, some floral, some herbal, some vegetable. By mid summer I want it bursting with colour, leaves and fragrance with tumbling vines and towering flowers.
Inside seeding is easy to do and it gives tiny plants a chance to spout and be nurtured before taking it’s place in the garden. Whether you’re seeding a windowsill garden or growing for a bigger project, it’s pretty easy to do.
For larger, dried seeds like the ones I’m using; nasturtiums, pumpkins, squash & sunflowers, I like to soak the seeds for 24 hours to help them soften before I plant them in the dirt. It helps pump them up and get those little germinators thinking “OH BOY!” before they bust their thin skins and spout roots & leaves. Sometimes I give them a few days and allow them to sprout but at minimum 24 hours in a shallow pan of water. To keep the humidity, cover with a clean paper towel and put them in a warm place – I like the top of the fridge.
Then it’s as easy as a bit of potting soil and something to contain the roots, a bit of sunshine and a nice, moist environment. By the end of the week I’ll have every last window still covered as I continue to prep space, prune back perennial herbs gone mad and drag home bags of dirt.
We sure could use a week of wet weather, considering doing a rain dance… do you have to be naked for that? That could frighten the neighbors.

Related Posts

Comments (0)